Ubuntu Stuck: Removing Installation Medium on Hyper-V Install – Causes & Solutions

Ubuntu Stuck: Removing Installation Medium on Hyper-V Install - Causes & Solutions

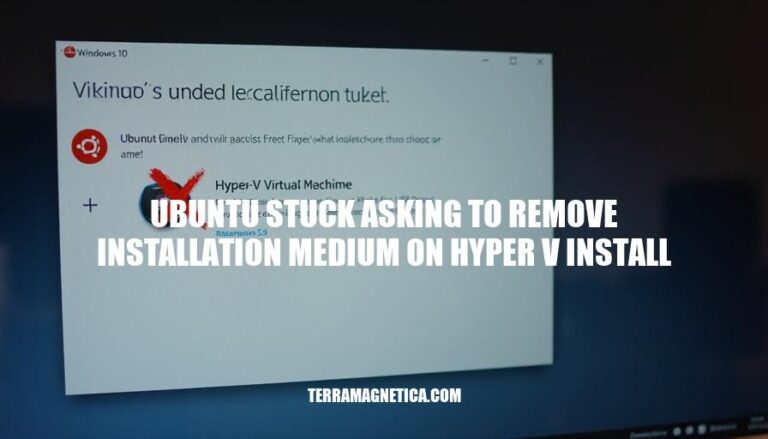
When installing Ubuntu on Hyper-V, users often encounter an issue where the system gets stuck at the “Remove installation medium and press Enter” prompt. This problem is common and can be quite frustrating, as it halts the installation process and leaves users unsure of how to proceed. The issue typically arises due to the virtual machine not properly ejecting the ISO file, causing confusion and delays in setting up the virtual environment.

Understanding the Problem

When installing Ubuntu on Hyper-V, a common issue is the system getting stuck at the “Remove installation medium” prompt. Here are the typical symptoms and messages displayed during this issue:

  1. Installation Completion: After the installation process completes, the screen displays a message: “Please remove the installation medium, then press ENTER:”.
  2. Stuck at Prompt: Despite removing the installation medium (e.g., ejecting the ISO file from the virtual machine settings), pressing ENTER does not proceed further.
  3. No Response: The virtual machine appears unresponsive, and the prompt remains on the screen.
  4. Reboot Loop: If you manually reboot the virtual machine, it may either return to the same prompt or fail to boot properly, sometimes asking for a password to unlock the drive but not accepting any input.

These symptoms indicate that the virtual machine is not correctly recognizing the removal of the installation medium, causing it to get stuck in a loop.

Possible Causes

When Ubuntu installation gets stuck asking to remove the installation medium on Hyper-V, several factors could be at play:

  1. Virtual Machine Settings:

    • Generation Type: Using a Generation 1 VM instead of Generation 2 can cause issues. Generation 2 VMs are recommended for Ubuntu installations.
    • Secure Boot: Secure Boot might need to be disabled in the VM settings under Security.
    • Dynamic Memory: Enabling Dynamic Memory can cause the installation to hang. It’s advisable to disable it during the installation process.
  2. Hyper-V Configurations:

    • Enhanced Session Mode: This feature can sometimes cause problems. Disabling Enhanced Session Mode in the Hyper-V settings might resolve the issue.
    • Integration Services: Ensure that Hyper-V Integration Services are properly configured and up to date.
  3. Common User Errors:

    • Incorrect ISO File: Using an incorrect or corrupted ISO file can lead to installation issues. Always verify the integrity of the ISO file before use.
    • Improper Shutdown: Not properly shutting down the VM before removing the installation medium can cause the system to hang.

Addressing these factors should help resolve the issue and allow the installation to proceed smoothly.

Step-by-Step Solutions

Sure, here’s a detailed guide to resolve the issue of Ubuntu getting stuck asking to remove the installation medium during a Hyper-V install:

Step-by-Step Guide

1. Adjust Hyper-V Settings

  1. Open Hyper-V Manager:

    • Launch Hyper-V Manager from the Start menu.
  2. Access VM Settings:

    • Right-click on your Ubuntu virtual machine and select Settings.
  3. Disable Secure Boot:

    • Navigate to Security under the Hardware section.
    • Uncheck the Enable Secure Boot option.
  4. Disable Dynamic Memory:

    • Go to Memory under the Hardware section.
    • Uncheck Enable Dynamic Memory.

2. Properly Eject the Installation Medium

  1. Open VM Connection:

    • Double-click on your Ubuntu VM to open the Virtual Machine Connection window.
  2. Eject the ISO:

    • In the Virtual Machine Connection window, go to Media > DVD Drive > Eject.
  3. Confirm Ejection:

    • Ensure that the ISO is no longer mounted by checking the Media menu again.

3. Reboot the Virtual Machine

  1. Shutdown the VM:

    • In the Virtual Machine Connection window, go to Action > Shut Down.
  2. Restart the VM:

    • Once the VM is completely shut down, go back to Hyper-V Manager.
    • Right-click on your Ubuntu VM and select Start.
  3. Check Boot Order:

    • If the VM still asks for the installation medium, go to Settings > Firmware.
    • Ensure that the Hard Drive is at the top of the boot order list.
  4. Reboot Again:

    • Restart the VM once more to ensure it boots from the hard drive.

By following these steps, you should be able to resolve the issue of Ubuntu getting stuck asking to remove the installation medium on Hyper-V.

Preventive Measures

  1. Enable Virtualization in BIOS: Ensure virtualization is enabled in your system’s BIOS/EFI settings.

  2. Use Generation 2 VM: Create a Generation 2 virtual machine in Hyper-V for better compatibility and performance.

  3. Configure Boot Order: Set the boot order to prioritize the virtual hard disk (VHD) over the installation media.

  4. Disable Secure Boot: In the VM settings, disable Secure Boot to avoid boot issues with some Linux distributions.

  5. Use Quick Create: Utilize Hyper-V’s Quick Create feature to download and set up a pre-configured Ubuntu image.

  6. Check ISO Integrity: Verify the integrity of the Ubuntu ISO file before starting the installation to avoid corrupted installations.

  7. Allocate Sufficient Resources: Ensure the VM has enough CPU, memory (at least 4GB), and disk space (minimum 15GB).

  8. Create a Virtual Switch: Set up a virtual network switch in Hyper-V Manager for network connectivity.

  9. Install Hyper-V Integration Services: Ensure Hyper-V Integration Services are installed for better performance and compatibility.

  10. Post-Installation Configuration: After installation, remove the installation media from the VM settings to prevent boot loops.

Following these steps can help ensure a smooth installation process and prevent issues with Ubuntu on Hyper-V.

Resolving Installation Issues with Ubuntu on Hyper-V

When installing Ubuntu on Hyper-V, users may encounter an issue where the system gets stuck at the ‘Remove installation medium’ prompt due to various factors such as incorrect virtual machine settings, Hyper-V configurations, and common user errors.

To resolve this issue, adjust Hyper-V settings by:

  • Disabling Secure Boot
  • Disabling Dynamic Memory
  • Disabling Enhanced Session Mode

Properly eject the installation medium from the VM connection window and confirm its removal.

Reboot the virtual machine and check the boot order to ensure it boots from the hard drive.

Additionally, follow preventive measures such as:

  • Enabling virtualization in BIOS
  • Using Generation 2 VMs
  • Configuring boot order
  • Disabling Secure Boot
  • Allocating sufficient resources

By following these steps, users can resolve the issue and complete a smooth installation process.

Comments

Leave a Reply

Your email address will not be published. Required fields are marked *