
To enable Miracast over infrastructure for non-Surface Hub Windows 10 PCs, start by ensuring both the PC and the display device are connected to the same network. Next, on the PC, go to Settings > Devices > Connected Devices and select “Add a device.” Choose the display device from the list and follow the on-screen instructions to complete the setup. Ensure that both devices are on the same Wi-Fi network or connected via Ethernet for a stable connection.
Once connected, you can start mirroring or casting your screen to the display device.
To enable Miracast over Infrastructure for non-Surface Hub Windows 10 PCs, you need the following hardware and software components:
Wi-Fi Adapter: The PC must have a Wi-Fi adapter that supports Wi-Fi Direct.
Graphics Driver: The graphics driver must support Windows Display Driver Model (WDDM) 1.3 with Miracast support.
Network Driver: The Wi-Fi driver must support Network Driver Interface Specification (NDIS) 6.30.
Windows 10: The PC must be running Windows 10.
Enterprise Network: Both the PC and the Miracast receiver must be connected to the same enterprise network via Ethernet or a secure Wi-Fi connection (e.g., WPA2-PSK or WPA2-Enterprise).
Open TCP Port: TCP port 7250 must be open on the network.
DNS Configuration: The DNS hostname of the Miracast receiver must be resolvable via DNS servers.
These components ensure that Miracast over Infrastructure can function properly, providing a stable and efficient wireless connection for screen mirroring.
To enable Miracast over infrastructure for non-Surface Hub Windows 10 PCs, follow these steps:
Ensure Network Compatibility: Verify that both the PC and the Miracast receiver are connected to the same network, either via Ethernet or a secure Wi-Fi network.
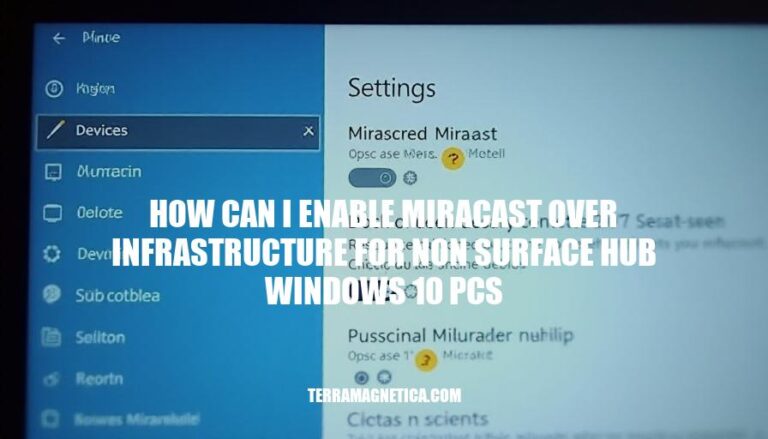
Enable Miracast: On the PC, go to Settings > Devices > Connected Devices > Add a device. Select Project to this PC and ensure Miracast is enabled.
Connect to Miracast Receiver: On the PC, click the Connect button in the Action Center. Select the Miracast receiver from the list of available devices.
Adjust Network Settings: If necessary, adjust network settings to ensure a stable connection.
This may include configuring firewall settings to allow Miracast traffic.
Verify Connection: Once connected, verify that the Miracast session is stable and that the video stream is being transmitted over the network infrastructure.
By following these steps, you can successfully set up Miracast over infrastructure for non-Surface Hub Windows 10 PCs.
Open Settings: Press Win + I to open the Settings app.
Go to Devices: Click on “Devices” in the Settings menu.
Select Projecting to this PC: In the Devices menu, click on “Projecting to this PC” on the left side.
Enable Projecting to this PC: Toggle the switch to “On” under “Projecting to this PC”.
Check Available Networks: Ensure your PC is connected to a secure Wi-Fi network or wired Ethernet.
Enable Miracast: Scroll down and ensure “Allow Miracast connections” is toggled on.
Connect to a Miracast Receiver: On your Miracast receiver (like a smart TV or another PC), select the option to connect to a wireless display and choose your Windows 10 PC from the list of available devices.
Complete Connection: Follow the on-screen instructions to complete the connection and start mirroring your PC screen.
Check Compatibility: Ensure both devices support Miracast. Verify this on the manufacturer’s website or documentation.
Enable Wi-Fi: Confirm Wi-Fi is enabled on both devices.
Update Drivers: Update wireless network adapter and graphics drivers. Check the manufacturer’s website for the latest drivers.
Restart Devices: Restart both the PC and the wireless display or adapter.
Remove and Reconnect: Remove the wireless display from settings and reconnect.
Check for Errors: Use the troubleshooter in Windows settings to identify and fix issues.
Disable VPN: Ensure VPN is disabled as it can interfere with Miracast.
Use Miracast Adapter: If the display doesn’t support Miracast, use a Miracast adapter.
To enable Miracast over infrastructure for non-Surface Hub Windows 10 PCs, ensure both devices are connected to the same network via Ethernet or secure Wi-Fi.